Difference between revisions of "Login page text editing"
From EasyZone wiki
Easyhorpak (talk | contribs) (Created page with "There are the following methods 1. Login to Cloud 2. go to main menu 600px|thumb|center 3. go to edit Hotspot 600px|thumb|center 4. Scro...") |
Easyhorpak (talk | contribs) |
||
| (One intermediate revision by the same user not shown) | |||
| Line 5: | Line 5: | ||
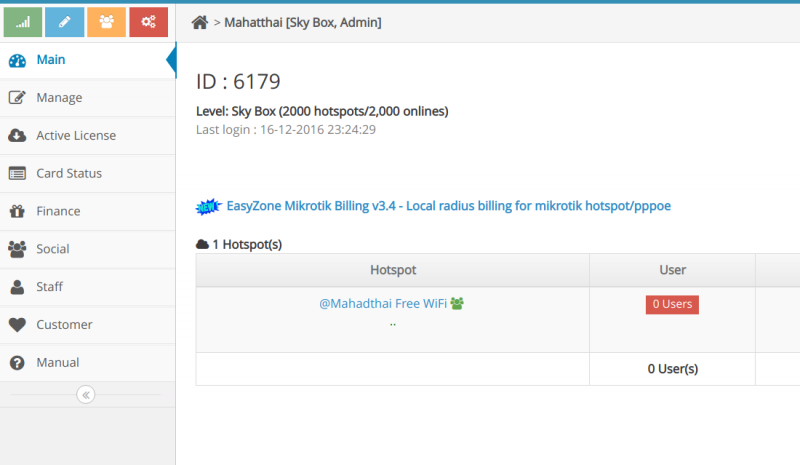
2. go to main menu | 2. go to main menu | ||
| − | [[File: | + | [[File:Screenshot from 2019-07-29 12-01-48.png|800px|thumb|center]] |
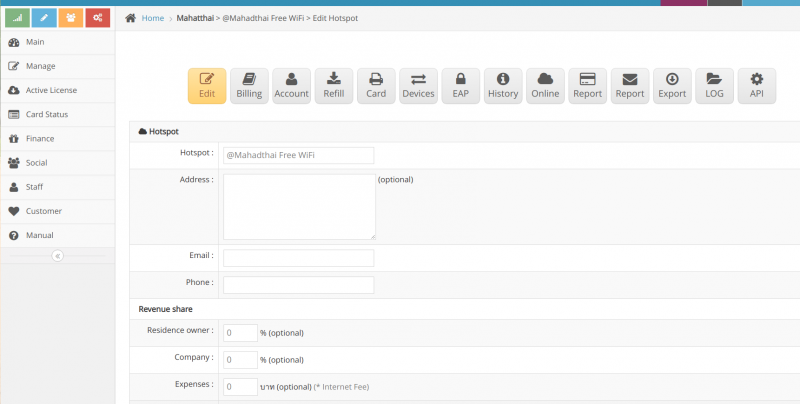
3. go to edit Hotspot | 3. go to edit Hotspot | ||
| − | [[File: | + | [[File:Screenshot from 2019-07-29 12-01-12.png|800px|thumb|center]] |
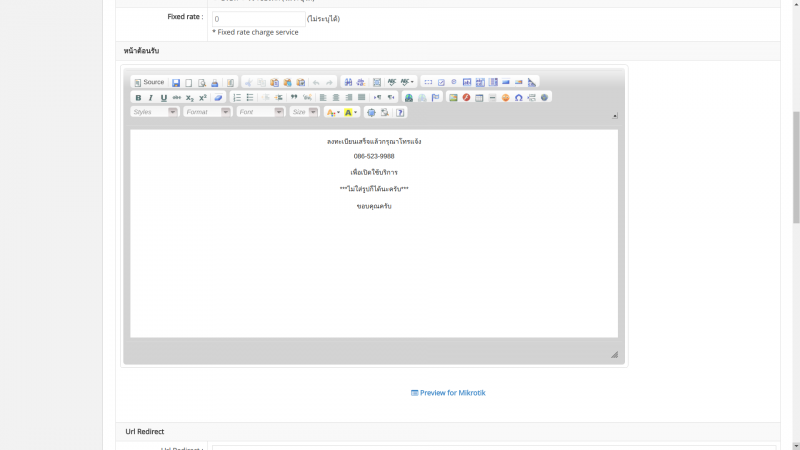
4. Scroll to the menu '' 'Welcome page' '' | 4. Scroll to the menu '' 'Welcome page' '' | ||
| − | [[File:Wel.png| | + | [[File:Wel.png|800px|thumb|center]] |
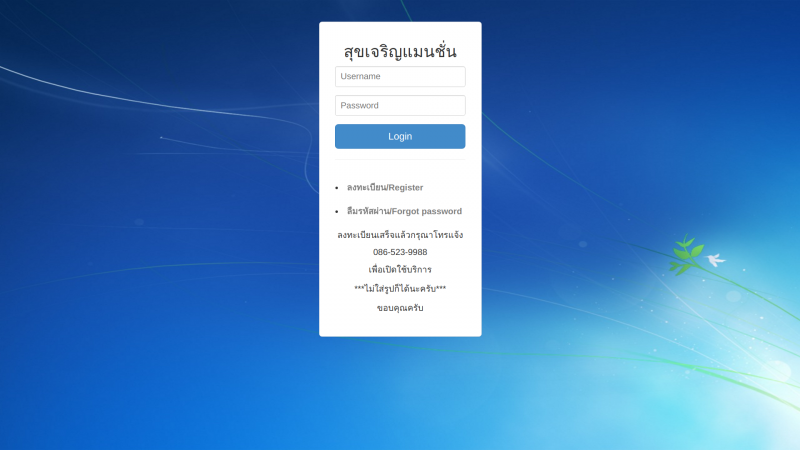
5. Make text edits Login you want After that, click Save and press Preview for Mikrotik to see the display. | 5. Make text edits Login you want After that, click Save and press Preview for Mikrotik to see the display. | ||
| − | [[File:Pr2.png| | + | [[File:Pr2.png|800px|thumb|center]] |
Latest revision as of 11:50, 29 July 2019
There are the following methods
1. Login to Cloud
2. go to main menu
3. go to edit Hotspot
4. Scroll to the menu 'Welcome page'
5. Make text edits Login you want After that, click Save and press Preview for Mikrotik to see the display.


