Difference between revisions of "How to import account"
Easyhorpak (talk | contribs) |
Easyhorpak (talk | contribs) |
||
| Line 23: | Line 23: | ||
3. Click on the account menu. Press the Import menu. | 3. Click on the account menu. Press the Import menu. | ||
| − | [[File: | + | [[File:Screenshot from 2019-07-29 15-32-04.png|800px|thumb|center]] |
4. Select the billing plan that has been created. | 4. Select the billing plan that has been created. | ||
Revision as of 15:17, 29 July 2019
Import account to facilitate the viewer and the system to import the old user quickly
For example, a school has 3,000 students who want to use the internet during school hours.
Administrators simply bring information. Student ID, name-surname, imported into the system
With the following methods
1. Create the import.txt file and put the student data in the format, user, password, name
Here, set the student code as user and password.
a sample
411061006,411061006, Phairot Hong Thong
411061007,411061007, Siam Prakhon
411061007,411061007, Kamin Prakhon
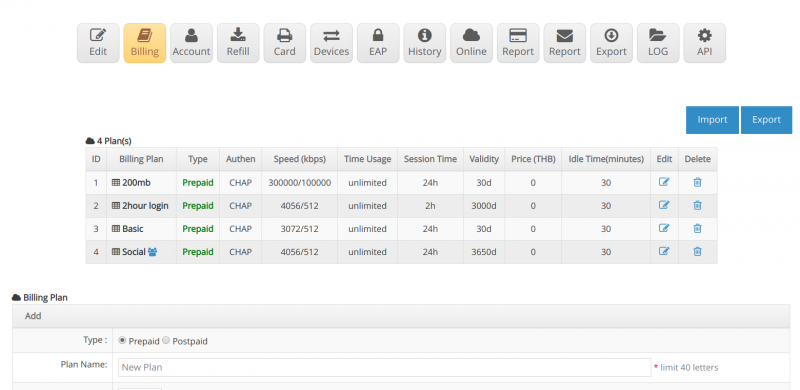
2. Create a billing plan to determine the speed and time of the user.
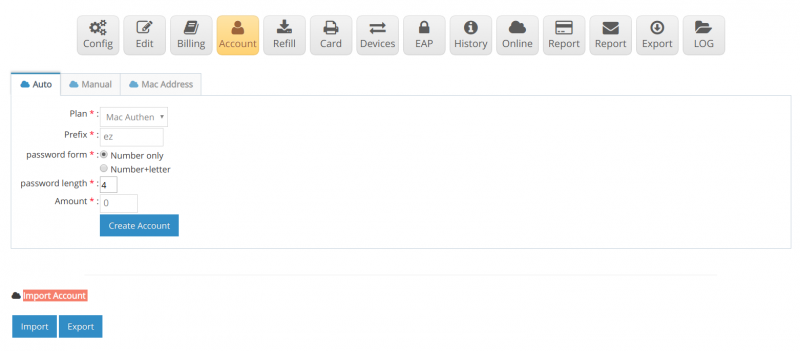
3. Click on the account menu. Press the Import menu.
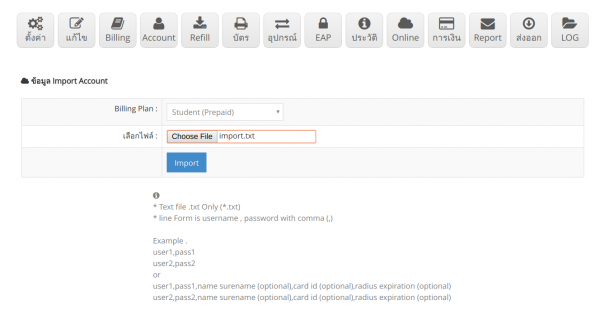
4. Select the billing plan that has been created.
5. Click the import button to finish importing the data.


