Difference between revisions of "Hotspot Social Login setting"
Easyhorpak (talk | contribs) |
Easyhorpak (talk | contribs) |
||
| Line 25: | Line 25: | ||
Enable Social List : Select the social media you want to use. | Enable Social List : Select the social media you want to use. | ||
| − | [[File: | + | [[File:Screenshot from 2019-07-29 12-23-56.png|800px|thumb|center]] |
5. Save to allow the system to save data. | 5. Save to allow the system to save data. | ||
| Line 35: | Line 35: | ||
And click advance setting and select Social Login. You can choose whether to allow users to use immediately or have to wait for approval first. | And click advance setting and select Social Login. You can choose whether to allow users to use immediately or have to wait for approval first. | ||
| − | [[File: | + | [[File:Screenshot from 2019-07-29 12-24-44.png|800px|thumb|center]] |
7. Set up the Mikrotik device to support Social Login by going to the Settings menu. Generate scripts menu | 7. Set up the Mikrotik device to support Social Login by going to the Settings menu. Generate scripts menu | ||
| − | [[File:St1.png| | + | [[File:St1.png|800px|thumb|center]] |
Click on social login and press Generate scripts. After that, copy the information as set in the image. | Click on social login and press Generate scripts. After that, copy the information as set in the image. | ||
| − | [[File:Scs.png| | + | [[File:Scs.png|800px|thumb|center]] |
And put it in Mikrotik> new terminal and press Enter | And put it in Mikrotik> new terminal and press Enter | ||
| − | [[File:Tutorial-mikrotik-6-3.png| | + | [[File:Tutorial-mikrotik-6-3.png|800px|thumb|center]] |
Will complete the process of setting up the Social Login system | Will complete the process of setting up the Social Login system | ||
Revision as of 12:10, 29 July 2019
There are the following methods
1. Login to Cloud
2. Go to manage Hotspot
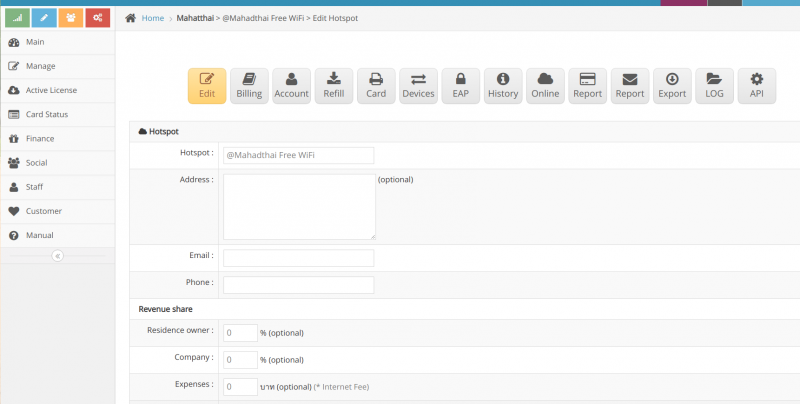
3. press on edit Hotspot
4. Scroll to the 'Social LOGIN' 'menu.
Enable Social Login : Select enable social login
Like and Share : Select the first user like and the next time to share to use the internet.
Like only : Select only user like
Facebook Fan Page Url : Fill fan page url
Facebook Page ID : Fill in fan page id
Enable Social List : Select the social media you want to use.
5. Save to allow the system to save data.
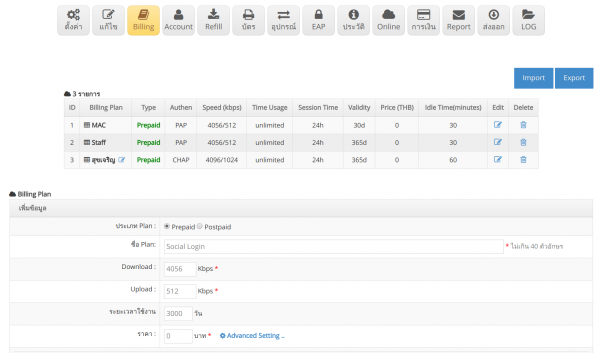
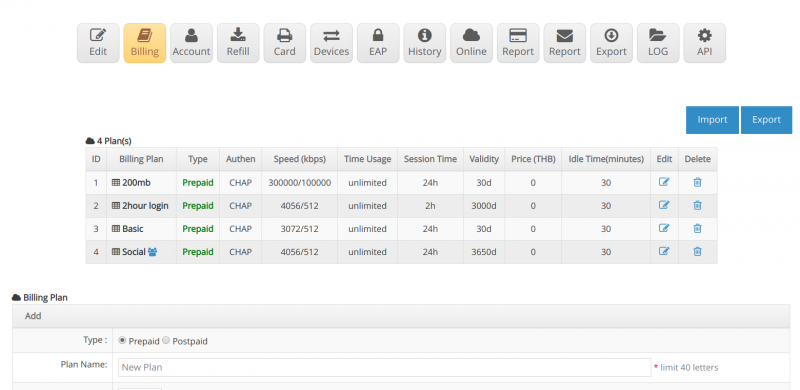
6. Create a billing plan for Social Login by going to the Billing Plan menu. Name the plan.
And click advance setting and select Social Login. You can choose whether to allow users to use immediately or have to wait for approval first.
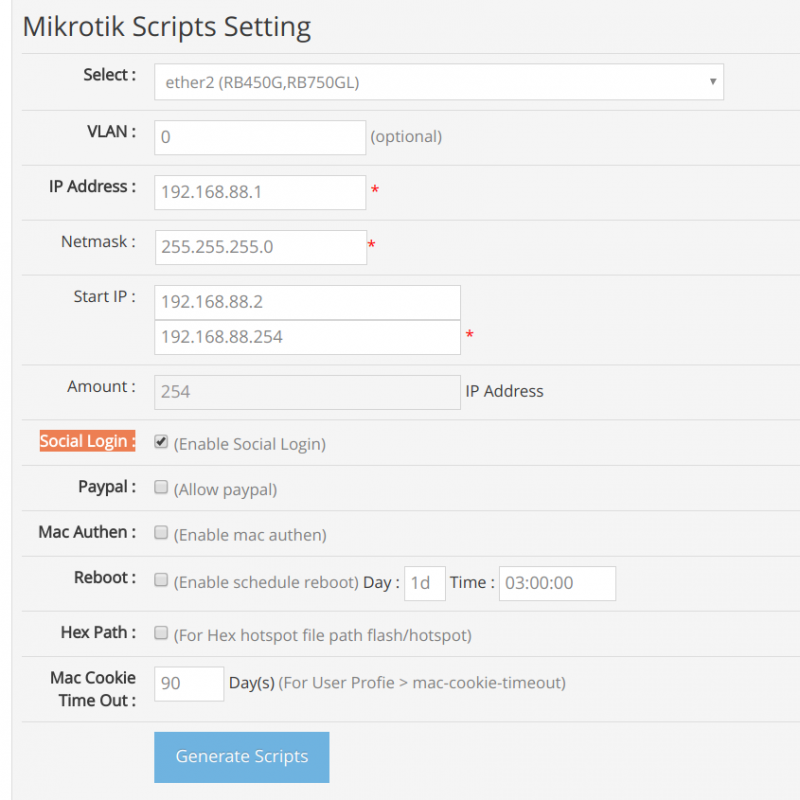
7. Set up the Mikrotik device to support Social Login by going to the Settings menu. Generate scripts menu
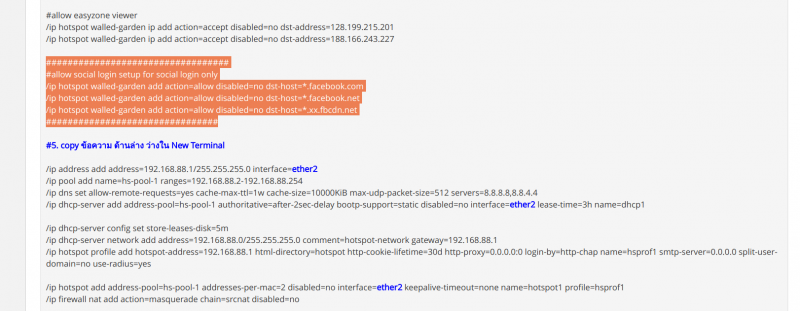
Click on social login and press Generate scripts. After that, copy the information as set in the image.
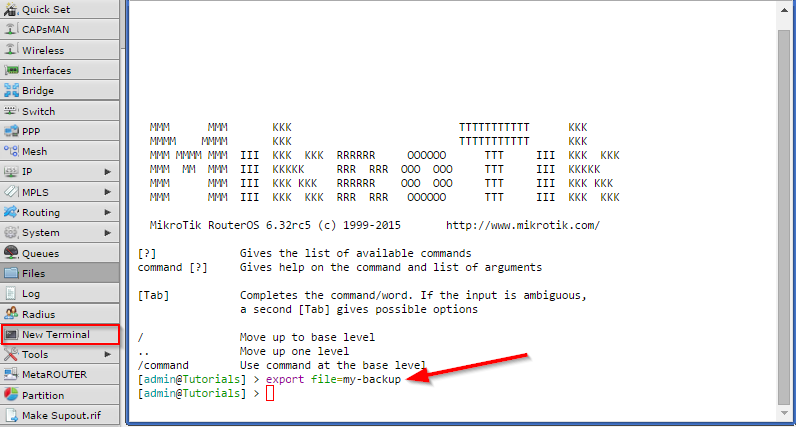
And put it in Mikrotik> new terminal and press Enter
Will complete the process of setting up the Social Login system
