Difference between revisions of "การตั้งค่า network (WAN)"
From EasyZone wiki
Easyhorpak (talk | contribs) |
Easyhorpak (talk | contribs) |
||
| (One intermediate revision by the same user not shown) | |||
| Line 4: | Line 4: | ||
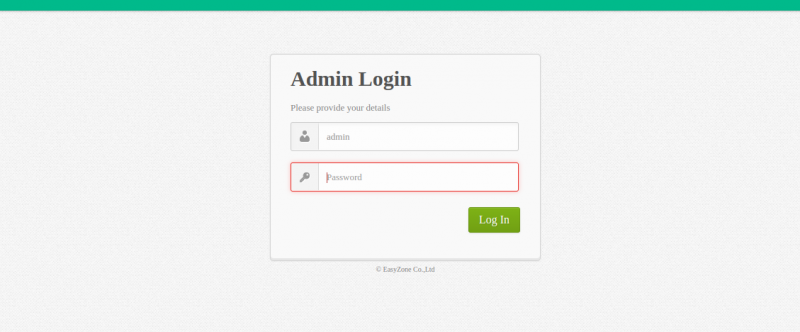
1. Login เข้าสู่ระบบ | 1. Login เข้าสู่ระบบ | ||
| − | [[File:Screenshot from | + | [[File:Screenshot from 2023-10-03 09-49-06.png|800px|thumb|center]] |
| − | 2. กดเมนู Hotspot | + | 2. กดเมนู Hotspot > Network |
| − | [[File:Screenshot from 2017-12-03 16-02-36.png| | + | [[File:Screenshot from 2017-12-03 16-02-36.png|800px|thumb|center]] |
3. ท่านจะพบ TAB network กดเมนู Edit เพื่อทำการ edit network | 3. ท่านจะพบ TAB network กดเมนู Edit เพื่อทำการ edit network | ||
| Line 16: | Line 16: | ||
AUTO DHCP | AUTO DHCP | ||
| − | [[File:Screenshot from 2017-12-03 16-05-15.png| | + | [[File:Screenshot from 2017-12-03 16-05-15.png|800px|thumb|center]] |
STATIC IP | STATIC IP | ||
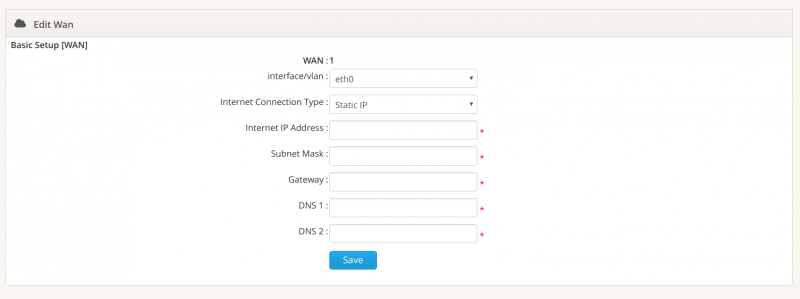
| − | [[File:Screenshot from 2017-12-03 16-05-38.png| | + | [[File:Screenshot from 2017-12-03 16-05-38.png|800px|thumb|center]] |
PPPoE | PPPoE | ||
| − | [[File:Screenshot from 2017-12-03 16-05-49.png| | + | [[File:Screenshot from 2017-12-03 16-05-49.png|800px|thumb|center]] |
Latest revision as of 10:04, 3 October 2023
มีขั้นตอนดังต่อไปนี้
1. Login เข้าสู่ระบบ
2. กดเมนู Hotspot > Network
3. ท่านจะพบ TAB network กดเมนู Edit เพื่อทำการ edit network
4. ท่านสามารถทำการตั้งค่า Network ได้ 3 แบบ คือ AUTO DHCP, STATIC IP และ PPPoE ดังภาพ
AUTO DHCP
STATIC IP
PPPoE


